
Geelong bathroom planning
Bathroom tile set-out and grout planning
Tile set-out decides where the pattern starts, where cuts land and how the room meets its fixtures. It can make an ordinary tile look considered or leave an expensive selection looking unresolved. For a Geelong bathroom renovation, review the tile layout before installation, using the actual room dimensions and product information rather than relying on a small sample board.
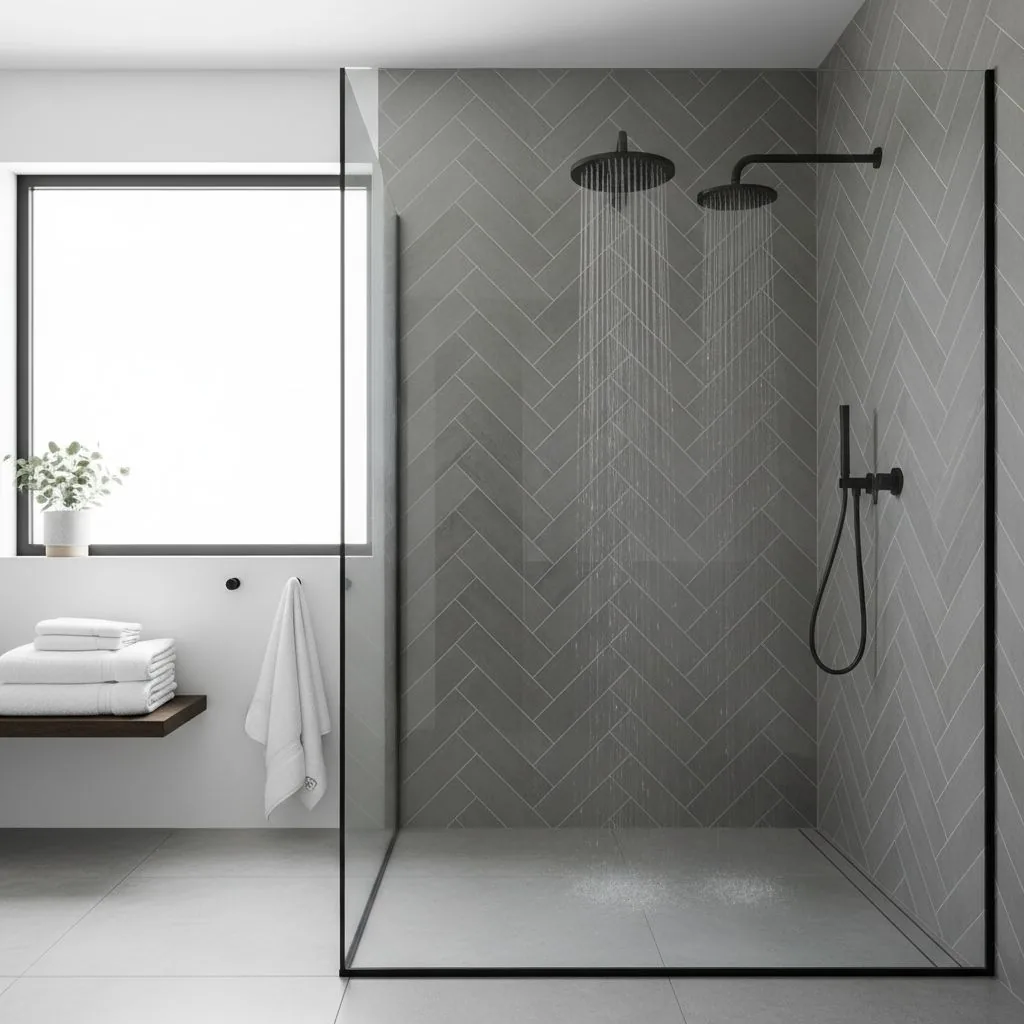
Choose the important view first
Stand at the bathroom doorway and identify the surfaces that dominate the view. The basin wall, back of the shower or a full-height feature wall may deserve particular attention. A useful set-out starts with these priorities, then works through the less visible edges. Trying to centre every surface independently can create conflicting lines where walls and floors meet.
Explain what matters most to you. You might prefer a balanced wall behind the vanity, uninterrupted lines through the shower or minimal narrow cuts beside a doorway. These aims can compete. Ask the tiler to show the consequences of the proposed starting point rather than describing the desired result only as neat or symmetrical. A sketch with the key lines marked makes the discussion concrete.
Photographs of other rooms are helpful references, but their dimensions and fixtures may be different. A pattern that aligns elegantly around a large window may leave awkward pieces around your smaller opening. Use reference images to communicate preferences, not as a layout that can be copied without adjustment. The final arrangement needs to be checked against the actual room and selected tile.
Work with the real tile module
The repeating module includes the tile and the joint between tiles. Nominal product sizes alone do not establish the installed pattern. Ask the tiler to work from the manufacturer's information and actual material where available, including any size variation relevant to the layout. A small difference repeated across a wall can change where the final cut lands.
Rectangular tiles also create a direction. A horizontal layout, vertical stack and offset pattern can give the same room different proportions. Consider how the direction relates to the basin wall and adjoining surfaces. Ask whether the proposed pattern is suitable for the selected product, including any manufacturer guidance about offsets. Appearance should be reviewed alongside installation suitability.
For mixed tile ranges, do not assume their joints will line up because the sizes sound related. Wall and floor products may have different working dimensions. If joint alignment is an important visual goal, raise it before ordering. The tiler can explain whether a consistent alignment is practical or whether a deliberate change of pattern would look more resolved than nearly matching lines.
Resolve narrow cuts and corners deliberately
Cuts are an ordinary part of tiling a room. The objective is not to eliminate every cut but to place them sensibly. Very narrow pieces can look accidental, particularly on a prominent wall or beside a feature. Ask the tiler to compare alternative starting points and show where the smallest pieces would occur in each option.
A centred layout may produce balanced edge cuts, but it is not automatically the best answer. Moving the starting point might improve a doorway, niche or shower return at the expense of symmetry elsewhere. Prioritise the surfaces people actually see and use. A decision that looks imperfect on an empty plan may be appropriate once the vanity and screen are included.
Corners deserve a coordinated view of adjoining walls. A pattern can turn the corner in a visually continuous way, or each wall can have its own arrangement. Either can be intentional, but the choice should be discussed. Ask how the transition will be handled where a full-height wall meets a lower tiled section or another finish, rather than leaving the last edge undecided.
Draw niches and ledges in elevation
A shower niche is both storage and a visible interruption in the tile pattern. Its position should relate to the user's reach, bottle sizes, wall construction and the tile module. Do not choose its dimensions solely to match a picture. The builder and tiler need to coordinate the proposed recess with the available wall and wet-area detailing before finishes are fixed.
A ledge can provide storage without the same recessed geometry, but it changes the wall profile and introduces its own junctions. Ask how the surface will be detailed and how it meets the surrounding tiles. The technical design belongs with the project trades. The homeowner's useful contribution is identifying what needs storing and which visual lines should relate to the feature.
Include the niche or ledge in a wall elevation showing taps, shower fittings and screen edges. Otherwise, a well-centred feature can end up partially obscured by glass hardware or poorly related to the controls. The shower screen planning guide helps identify those overlaps. Resolve the combined drawing before approving a tile set-out based on the wall alone.
Use grout colour as part of the design
Grout can emphasise the shape of each tile or make the surface read more continuously. A contrasting joint draws attention to the pattern, including any variation in alignment. A closer colour can be quieter but may still change the appearance of the tile. Review a physical sample arrangement where possible rather than selecting from a colour name on its own.
Consider maintenance and appearance together. Very pale joints, dark joints and textured surfaces each show different marks under different conditions. Ask about the selected grout product's suitability and care instructions. Avoid assuming any colour or product will stay unchanged without cleaning, or that a marketing description removes the need for ordinary maintenance.
The final appearance can also be affected by lighting. Strong side light may reveal surface texture and joint relief that is less visible under diffuse light. Review the lighting plan before treating the sample's showroom appearance as definitive. The aim is to choose a combination you like under the conditions the room will actually have.
Understand movement joints and sealant lines
Not every visible joint is ordinary grout. Junctions and movement provisions need the appropriate detailing for the room and materials. Ask the tiler to identify where different joint treatments will appear and how their colours relate to the tile scheme. This prevents surprise when a corner or floor junction looks different from the broad tiled surface.
Do not request that a necessary joint be omitted purely to preserve a continuous pattern. The project team should explain the purpose and suitable treatment. If a visible line is a concern, discuss colour and layout options within the required technical design. A visual preference should inform the detailing conversation, not replace it.
Keep a record of the products used and their care requirements. If a joint later changes appearance or separates, report it for assessment rather than assuming a cosmetic touch-up addresses the cause. This article does not prescribe waterproofing or structural details. It helps you ask how those details and the visible tile layout will work together before installation.
Coordinate the floor with drainage and thresholds
A bathroom floor is not simply a flat decorative panel. The drainage arrangement and wet-area design influence the geometry the tiler must achieve. Large tiles, small tiles and different drain positions can lead to different cut patterns. Ask the trades to show the intended floor layout around the shower and drains before deciding that every line must remain uninterrupted.
Where a shower base changes plane, the tile format and cuts need to suit that geometry. A tile chosen for a wall may not be suitable for the floor. The supplier and project trades should confirm product suitability, including the relevant surface characteristics for the intended use. Do not infer wet-floor performance from a dry showroom sample or a glossy photograph.
Review the doorway transition as well. Tile thickness, the floor build-up and the adjoining room finish affect the finished relationship. Ask how the edge is detailed and whether the proposed levels create an awkward transition. The existing shower base comparison addresses a different product decision; this guide focuses on making the selected system's visible layout coherent.
Decide edge finishes before ordering
An exposed tile edge can be handled in different ways depending on the product and location. Trims, formed edges and carefully detailed corners each create a particular appearance. Ask what is proposed around niches, external corners and the end of a tiled wall. Include the finish in the selection schedule so it is not chosen hurriedly after the main tiles arrive.
Metal finishes deserve comparison with tapware and screen hardware, but an exact visual match may not be available across different manufacturers. A deliberate complementary choice can look better than several almost-matching finishes. Bring samples together and view them under the intended light. Record the approved finish rather than using a broad description such as brushed metal.
Think about touch and cleaning at the edge as well as appearance. A prominent corner beside a vanity or doorway will be experienced differently from a high, rarely touched return. Ask the tiler to explain the practical trade-offs of the proposed detail. Avoid choosing a fragile-looking treatment solely because it disappears in a carefully framed reference photograph.
Example: a feature wall around a vanity
Example only: a bathroom plan uses a rectangular feature tile behind a single basin. The first sketch centres the tile pattern on the wall. Once the vanity and mirrored cabinet are drawn in, a narrow cut appears beside the door and a cabinet edge sits just short of a grout line, making the arrangement look unplanned.
The tiler compares a shifted starting point and a different tile orientation. The owner prefers the shifted pattern because the visible doorway cut improves and the cabinet relates more clearly to the joints. The far edge becomes less symmetrical, but much of it is concealed by the room arrangement. The chosen compromise is recorded in an elevation.
This is not a claim that off-centre layouts are generally superior. It demonstrates that the useful reference is the completed room, not an isolated rectangle of wall. The tile, mirror and cabinet drawings need to be considered together, and any technical constraints still require the relevant trades' approval before the layout is adopted.
Approve a layout and keep the selection record
Request a drawing or marked-up plan showing starting lines, pattern direction, key cuts, feature positions and edge treatments. It need not be a decorative rendering to be useful. It should make the important decisions visible and identify anything that remains conditional on final measurements. Agree when the tiler will confirm the layout before installation starts.
Record the exact tile range, colour, size, finish and intended location, together with grout and trim selections. Ask the supplier and tiler to coordinate ordering quantities and any reserve material appropriate to the project. Avoid adding a universal waste percentage without considering the actual pattern and room. Future matching may depend on production differences, so retain identifying information from the supplied material.
For a full bathroom renovation, connect tile approval to the fixture schedule rather than treating it as the last styling decision. The vanity dimensions, screen arrangement and lighting can all change what the set-out looks like. A coordinated approval lets the installer follow a clear intent while keeping necessary technical detailing within the professional scope.
Tile layout approval preparation
Mark the decisions already shown in your tile selections or drawings. Any unchecked item is worth resolving with the tiler before installation. This record organises visual preferences and does not approve wet-area construction details.
Select prepared details below.
Review the tile elevation with your fixtures
Include the exact tile range and your preferred starting lines in the project discussion. Bring the niche, vanity and screen positions so the layout can be reviewed as a whole.